Elevate Your Website's Performance: Configuring Nginx with a Specific Domain and Securing It with Cloudflare

Introduction:
In the digital realm, your website's reliability and speed can make or break the user experience. Enter Nginx, a web server that thrives on efficiency, and Cloudflare, a leading Content Delivery Network (CDN) and security solution. Combining these two technologies can make your site faster, safer, and smarter. In this guide, we will walk through the process of configuring Nginx with a specific domain and seamlessly linking it with Cloudflare.
Get ready to unlock a web performance powerhouse!
Getting Started: Prerequisites
Before you dive in, make sure you have:
- A server running Nginx, installed and ready
- Access to your domain registrar to modify DNS settings
- A Cloudflare account to manage your domain
Let’s dive into the configuration!
Step 1: Configure Nginx for Your Domain
The first step is to align Nginx to recognize requests made specifically to your domain.
- Access Your Server: Open your terminal and connect to your server via SSH.
- Navigate to Nginx Configuration: Head to the sites-available directory:
cd /etc/nginx/sites-available/ - Create a New Configuration File: Create a new file for your domain. Let’s assume your domain is
example.com:sudo nano example.com - Define Server Block: Add the following configuration to your Nginx file (ensure you replace example.com with your actual domain):nginxCopy
codeserver {
    listen 80;
    server_name example.com www.example.com;
    location / {
        proxy_pass http://localhost:3000; # Modify to match your application's port
        proxy_http_version 1.1;
        proxy_set_header Upgrade $http_upgrade;
        proxy_set_header Connection 'upgrade';
        proxy_set_header Host $host;
        proxy_cache_bypass $http_upgrade;
    }
}- Enable the Site: Link the file in sites-available to sites-enabled:
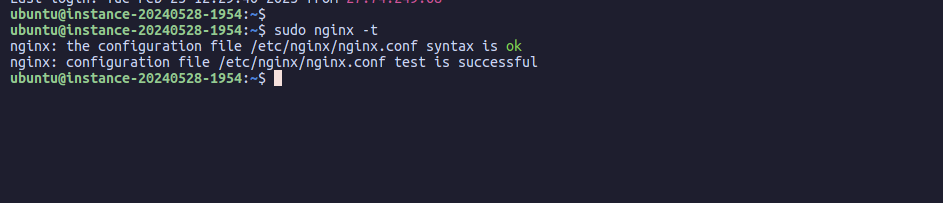
sudo ln -s /etc/nginx/sites-available/example.com /etc/nginx/sites-enabled/ - Test the Configuration: Check for configuration syntax errors
sudo nginx -t
If everything’s clear, reload Nginx:sudo systemctl reload nginx
Step 2: Set Up Cloudflare for Your Domain
Connecting your domain to Cloudflare adds an extra layer of speed and security.
- Log in to Cloudflare: Go to Cloudflare's website and log in.
- Add Your Domain: Click the ‘Add a Site’ option, and enter your domain name.
- Review DNS Settings: Cloudflare will scan your DNS records. Verify these records and ensure your domain (A record) points to your server’s IP address.
- Select Your Plan: Choose the plan that fits your needs—starting with a free plan is a great choice.
- Change Nameservers: Cloudflare will provide you with new nameservers. Update these in your domain registrar’s DNS settings.
Step 3: Configure Cloudflare Settings for Optimal Performance
- SSL/TLS Configuration: Set SSL/TLS mode to "Full" or "Full (Strict)" if you have an SSL certificate on your server.
- Caching Settings: Enable caching for optimal performance. Set cache level to "Standard" to start.
- Page Rules: Consider setting rules to improve performance and enhance security.
Conclusion:
Bravo! You’ve successfully configured Nginx to serve your specific domain, and integrated it with Cloudflare for an optimized, secure presence. You’ve woven together the key elements that make web performance matters: fast load times, robust security, and seamless traffic handling.
Remember, in the ever-connected world of the internet, there's always something new to learn and improve. Keep experimenting with configurations, explore more settings in Cloudflare, and stay ahead in the game of web performance. Until next time, may your server connections be swift and your domains secure!